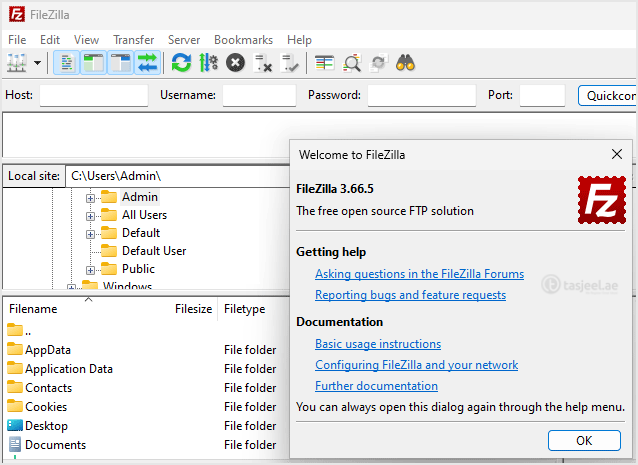

Installing the FileZilla FTP Client on Windows OS is easy. Just follow this tutorial.
Steps to install Filezilla Client on Windows
-
Download the Filezilla FTP Client Installer file for your Windows OS.
-
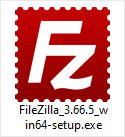
Double click to Run the FileZilla FTP Setup File. If it shows a security warning, please read and accept it. Then click on Run.
-
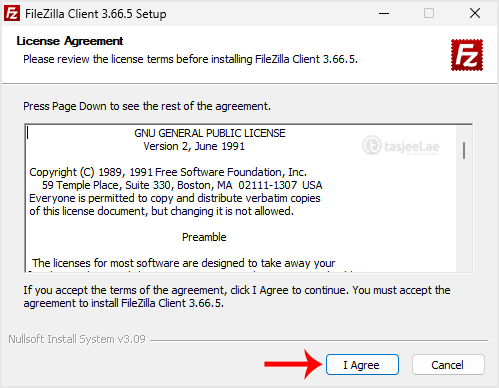
The FileZilla Client will show a License Agreement. Please, read it and accept the agreement to install the FileZilla Client.
-
Click on Next until it shows the Install option. Then click on install.
-
The installation usually completes in a few seconds. However, depending on the speed of your computer, it may take a little longer. Once it ends, confirm with Finish.
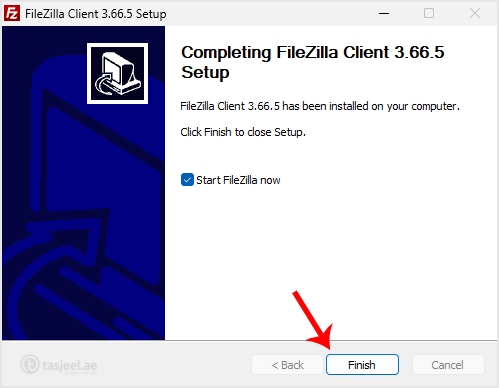
Congratulations. You have successfully installed the FileZilla Client on your Windows operating system. Now you can start using it.